


Intro mensaje de Bienvenida
viernes, 14 de marzo de 2014 | 0 Comment |
Hola chicas buen diaa n.n les traigo un nuevo tuto ^^ muy bonito es el de poner un intro al blog con un mensajito kawaii diciendo bienvenidos asi como el que puse aqui abajito =D!! es muy facil de realizar.. espero les guste ^^!!! Para ver el intro da clic aqui para ir a mi blog de pruebas
Para poner el intro en tu blog sigue los siguientes pasitos:
1.- Entra a tu blog
2.- Ve a la pestanita que dice Diseno
3.- Dentro de diseno da clic en Edicion Html
4.- Y donde dice Editar plantilla buscas el codigo:
5.- Cuando lo encuentres copia el siguiente codigo y pegalo justo arriba de ]]></b:skin>
6.- Dar vista previa y luego guardar.!!
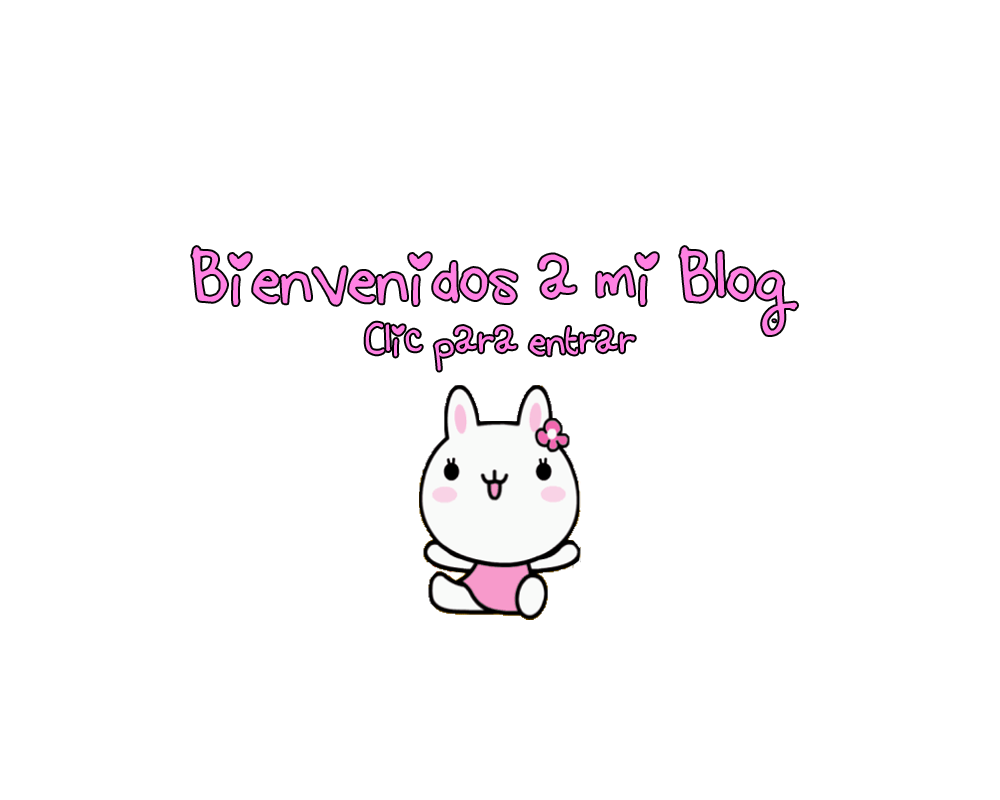
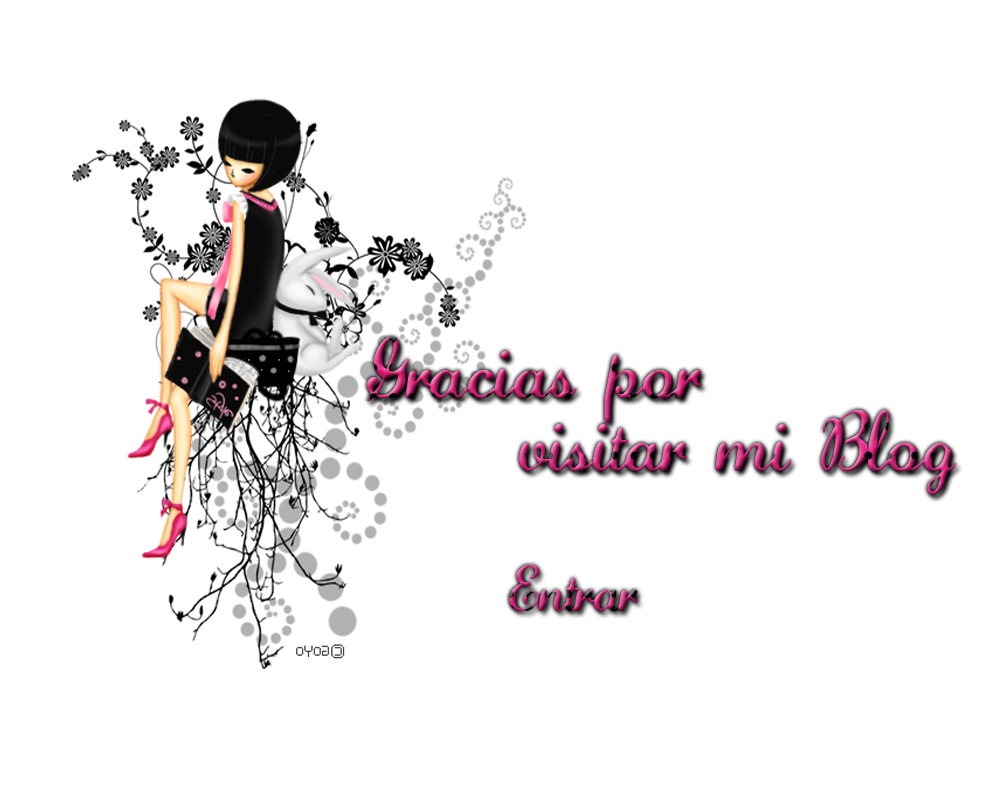
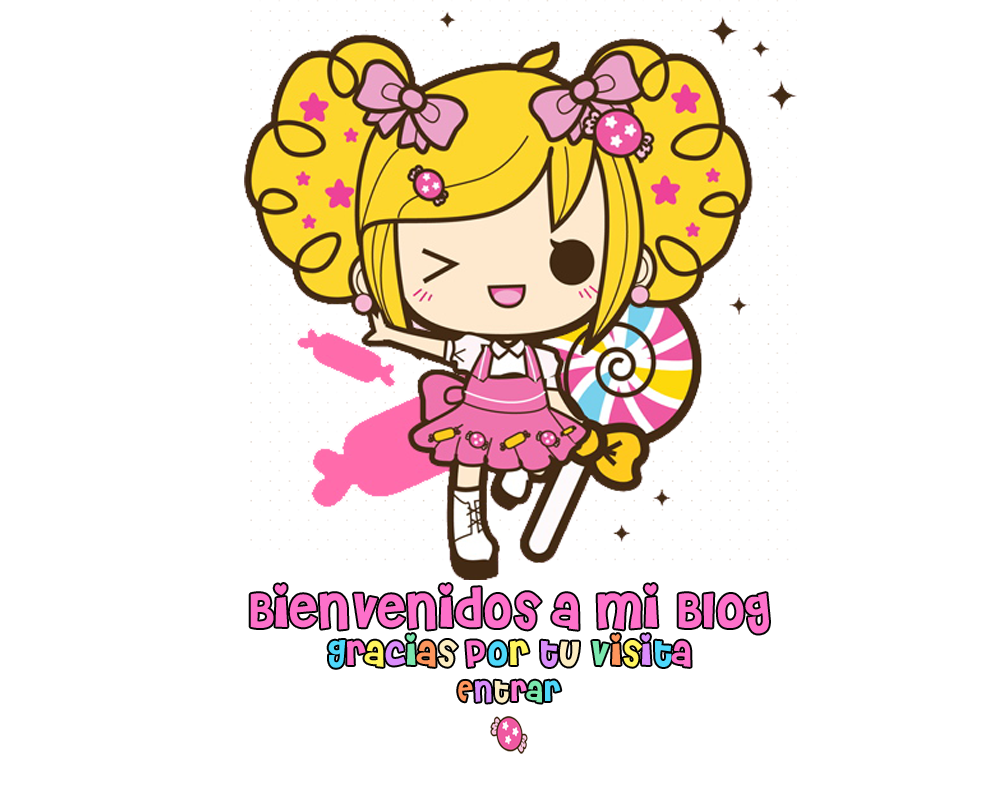
Amm les hice unos intros no estan muy bonitos hahhah no soy buena en diseno xD pero los hice con carino n.n !!
Ustedes pueden hacer sus propios intros con su estilo es muy facil solo necesitanphotoshop e imaginacion, ammm una cosita mas, los intros los hize en fondo transparente, las medidas me salieron un poquito grandes, ustedes pueden hacer las suyas segun mas pequenas si gustan.. me hago entender?? bueno sino dejame tu comentario con gusto te respondo =D!! besitos
Oka ahora los intros que hice xD!!!

http://i1143.photobucket.com/albums/n639/annyz-chaan/annyz-blog/introannyzblog4.png
http://i1143.photobucket.com/albums/n639/annyz-chaan/annyz-blog/introannyzblog.png
http://i1143.photobucket.com/albums/n639/annyz-chaan/annyz-blog/introannyzblog3.png
http://i1143.photobucket.com/albums/n639/annyz-chaan/annyz-blog/introannyzblog2.png
Que tengan un buen dia ^^
1.- Entra a tu blog
2.- Ve a la pestanita que dice Diseno
3.- Dentro de diseno da clic en Edicion Html
4.- Y donde dice Editar plantilla buscas el codigo:
]]></b:skin>
5.- Cuando lo encuentres copia el siguiente codigo y pegalo justo arriba de ]]></b:skin>
</style></head>
<script language="javascript" type="text/javascript">
/* toggle() checks to see if the images has already been faded
or not and sends the appropriate variables to opacity(); */
function toggle(el,milli) {
// Get the opacity style parameter from the image
var currOpacity = document.getElementById(el).style.opacity;
if(currOpacity != 0) { // if not faded
fade(el, milli, 100, 0);
} else { // else the images is already faded
fade(el, milli, 0, 100);
}
}
/* changeOpacity() uses three different opacity settings to
achieve a cross-browser opacity changing function. This
function can also be used to directly change the opacity
of an element. */
function changeOpacity(el,opacity) {
var image = document.getElementById(el);
// For Mozilla
image.style.MozOpacity = (opacity / 100);
// For IE
image.style.filter = "alpha(opacity=" + opacity + ")";
// For others
image.style.opacity = (opacity / 100);
}
/* fade() will fade the image in or out based on the starting
and ending opacity settings. The speed of the fade is
determined by the variable milli (total time of the fade
in milliseconds)*/
function fade(el,milli,start,end) {
var fadeTime = Math.round(milli/100);
var i = 0; // Fade Timer
// Fade in
if(start < end) {
for(j = start; j <= end; j++) {
// define the expression to be called in setTimeout()
var expr = "changeOpacity('" + el + "'," + j + ")";
var timeout = i * fadeTime;
// setTimeout will call 'expr' after 'timeout' milliseconds
setTimeout(expr,timeout);
i++;
}
}
// Fade out
else if(start > end) {
for(j = start; j >= end; j--) {
var expr = "changeOpacity('" + el + "'," + j + ")";
var timeout = i * fadeTime;
setTimeout(expr,timeout);
i++;
}
}
}
</script>
<div class="input" onClick="javascript:toggle('wise', 4000); this.style.display='none';
document.getElementById('june').style.display=''">
<center><img src="URL DE LA IMAGEN"
style="opacity:0.4;filter:alpha(opacity=40)"
onmouseover="this.style.opacity=1;this.filters.alpha.opacity=100"
onmouseout="this.style.opacity=0.7;this.filters.alpha.opacity=40"/></center>
</div>
<div id="wise" style="filter : alpha(opacity=0); -moz-opacity : 0; opacity : 0;">
<div id="june" style="display : none;">
<body>
6.- Dar vista previa y luego guardar.!!
Amm les hice unos intros no estan muy bonitos hahhah no soy buena en diseno xD pero los hice con carino n.n !!
Ustedes pueden hacer sus propios intros con su estilo es muy facil solo necesitanphotoshop e imaginacion, ammm una cosita mas, los intros los hize en fondo transparente, las medidas me salieron un poquito grandes, ustedes pueden hacer las suyas segun mas pequenas si gustan.. me hago entender?? bueno sino dejame tu comentario con gusto te respondo =D!! besitos
Oka ahora los intros que hice xD!!!
http://i1143.photobucket.com/albums/n639/annyz-chaan/annyz-blog/introannyzblog4.png
http://i1143.photobucket.com/albums/n639/annyz-chaan/annyz-blog/introannyzblog.png
http://i1143.photobucket.com/albums/n639/annyz-chaan/annyz-blog/introannyzblog3.png
http://i1143.photobucket.com/albums/n639/annyz-chaan/annyz-blog/introannyzblog2.png
Que tengan un buen dia ^^


 Intro mensaje de Bienvenida